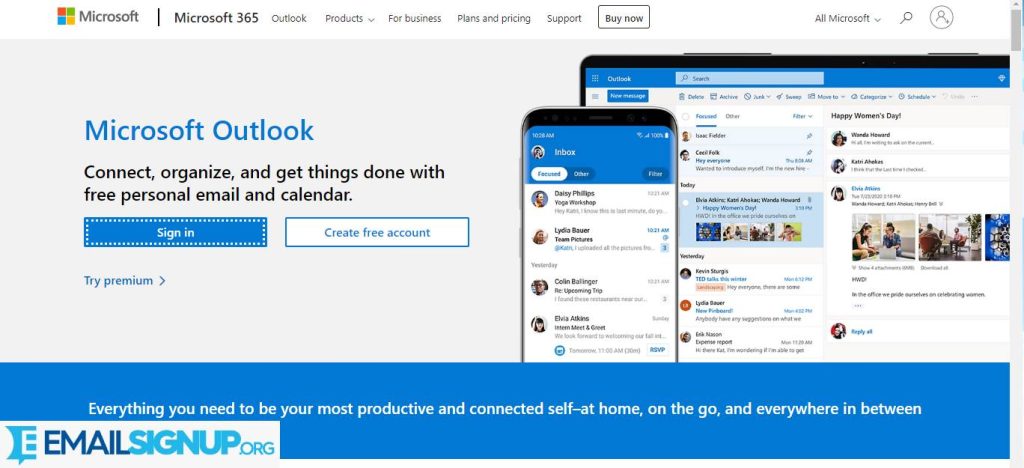
If you decide to create your Outlook account, you have come to the right place. The process is straightforward. With an Outlook Mail account, you get access to different features, such as communicating, scheduling, and checking meetings and appointments.
Using a PC
By following the steps given in this article, you can create an Outlook account without any hassle. If you want to create an Outlook email account using your PC, here are the steps below.

- Open the browser you prefer type Outlook account, and hit Enter.
- Insert the email address you would like to create in the Email box and then click on the Next button. Since it is going to be your Outlook email address, make sure you choose something easy to remember.
- Select the email extensions.
- In the next window, insert the password you prefer but ensure you are creating a strong password that has a combination of upper and lowercase letters, numbers, and symbols. When you are done, click on the next button.
- On the following page, insert the required details in the given fields and click on the next button.
- Choose the country and the region you are residing and then include the postal/zip code of the area.
- Insert your recovery email address and phone number. You have to add both and it will help in recovering your account when you get locked out of your account.
- In the following window, you have to complete the captcha and click on the option ‘Create Account’.
Using an Android Device
When you want to create an Outlook mail account using your Android smartphone or tablet, here are the steps you have to follow.

- From your device open the Google Play Store and search for Microsoft Outlook.
- When you find it, click on Install.
- Now, you have to open the app and then tap on the option ‘Get Started’.
- Insert your preferred email address in the field ‘Email or Phone’ tap on the option continues, and then tap on ‘Create Account’.
- Next, insert the password and then tap on continue.
- Follow the instructions given on-screen for creating an Outlook account, including security information and setting up a password.
- When you are done creating an account, you will be taken to the inbox page.
Using an iOS Device
To create an Outlook email account using your iPhone, follow the steps given below.
- Open the App Store and search for the Microsoft Outlook App.
- When you find it, tap on the Install button.
- After the installation is complete, open the app and click on the button ‘Get Started’.
- In the following screen, you will have to enter your preferred email address and tap on the option ‘Add Account’.
- Then tap on the button ‘Create Account’.
- Follow the instructions given on-screen for completing the signing-up process. It includes setting up your inbox and selecting your preferences.
When you are done with the process, you will be taken to your Outlook email account and manage your mail as per your requirements.
Other reloated articles:
Outlook: Email Services by Microsoft
How to Get Outlook Premium?
Outlook Premium is a subscription service that is offered by Microsoft. The Premium service will enable users to experience an improved version of Outlook, such as premium security, ads-free inbox, custom domain names, and a lot more.
A few of the top features of Outlook Premium are,

- Enhanced Security
- Add-Free Inbox
- More Storage Space
- Custom Domain Name
- Microsoft OneDrive
- Microsoft Outlook 365
Outlook Premium is an excellent choice for all professional users as these features will let you manage daily tasks a lot more easily.
How to add a signature in Outlook?
In case you have to add a signature in Outlook, you have to just follow the steps given below.
- Open the Outlook account, click on the option ‘New Email’ for a new email, and click on the button ‘Signature’ in the ‘Include’ section of the ribbon section of the message.
- Choose the signature you prefer from the drop-down list and then click on ‘New’ to create a new signature.
- Next, you have to type the new signature name and click on the option ‘OK’.
- Now, you will have to choose the option ‘Edit Signature’, and add the signature you want. If you want, you can add an image simply by clicking on the picture icon and include the image.
- When you are done, choose the mail account to which you would like to add your signature into the drop-down menu ‘Choose Default Signature’.
- In case you would like to include a signature to new emails by default, choose the signature from the ‘New messages’ from the drop-down menu. Also, you have the option to choose to add a signature to forwards and replies by choosing it from the drop-down menu’s ‘Replies/forwards’.
After you are done creating the new signature for the Outlook account, it is going to be added to each mail you have created and then sent to anyone you want.
